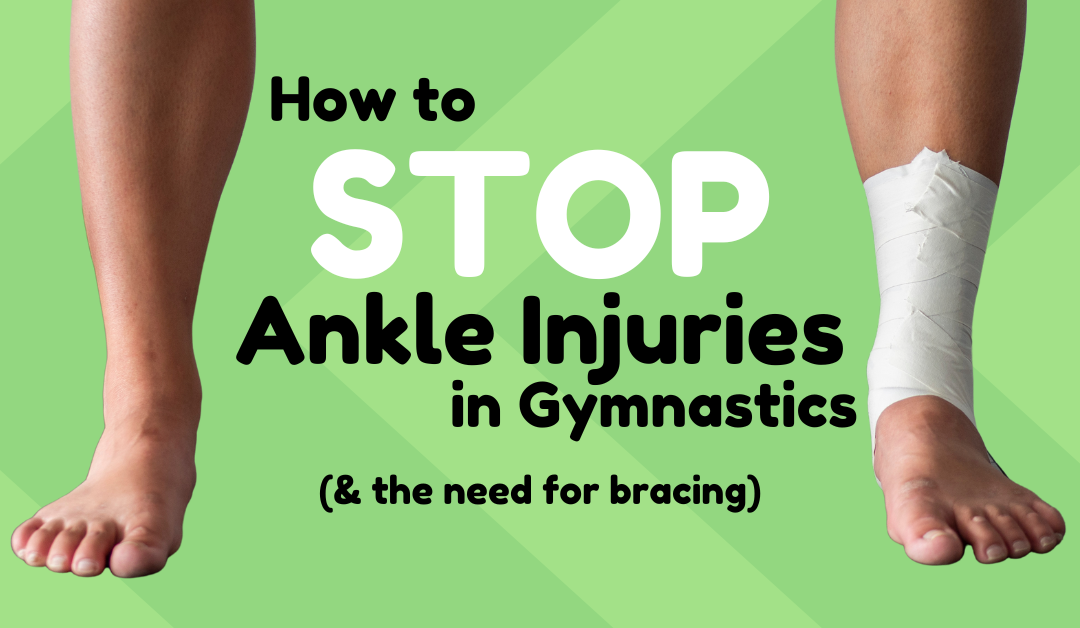
How do you prevent ankle injuries in gymnastics? It’s almost like they come with the territory. If ankle braces and daily taping has you pulling your hair out, don’t fret. Ankle injuries ARE preventable, but maybe a little more complex than you might think. Here are 3 ways to assess, correct, and strengthen those ankles.
1.) Prevent ankle injuries in gymnastics by fixing movement patterns.
The cause of ankle injuries are rarely isolated to the ankle. The body works like a long line of dominoes. So if we notice the last one has fallen over (i.e. we’ve identified pain at the ankle) let’s take a step back and look at what pushed it to that point in the first place.
Are the hips turned in?
The hips are a common, but often overlooked culprit to ankle injuries. The position of the hips, knees, and ankles relative to one another plays a big role in how our weight distribution affects the joints. Which is especially important if we’re going to be subjecting the foundation to high-impacts. Like… just about any gymnastics movement.
Think of the body like a house, with the hips being the roof. If the roof starts to collect water, it will start to cave in. Just the same, if the adductors are tight, the hips will start to turn inward.
So how does this affect the ankles?? Well, poor construction doesn’t just affect one part. We’ll get into that, but here’s how to tackle tight hips.
The fix: foam roll the adductors.
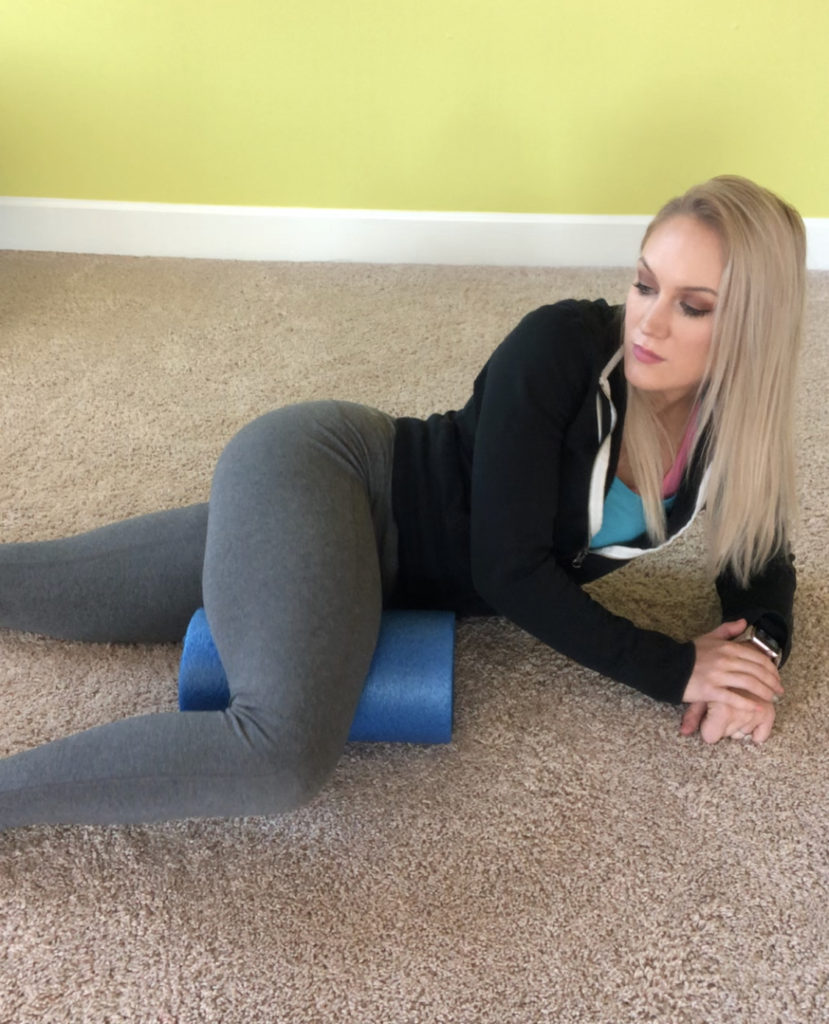
Start on your stomach with a foam roller parallel to your body. Swing one leg over and roll from knee to the inside of the hip. Once you find a “knot” or tender spot, HOLD pressure for at least 30 seconds. Repeat on the other side.
Are the knees tracking correctly?
Let’s go back to the house idea. Should the roof cave in enough, other parts of the house will need to start taking on the load. A sagging roof (i.e. tight hips) is eventually going to cause the walls (i.e. the knees) to lean and compensate.
Take a look at your gymnast in a squat. Are their knees tracking in line with their middle toes? Or are they caving in?
There’s that domino effect happening, and soon it’ll hit the ankles! Loosening those hip muscles is step one, but now it’s time to activate the ones necessary to fix the movement.
The fix: activate the glutes.
Movement impairments have two components: overactive muscles and underactive muscles.
We already addressed the overactive muscles as the adductors, but what about the ones not holding up their end of the bargain? Typically, underactive glutes allow the adductors to take over and pull the knees in during squats and landings. This, in turn, affects the ankles.
There are a few exercises I recommend to do this:
- Stag lifts – Begin on all fours. Keeping one knee bent at 90° and the core engaged, lift the bent leg up behind you.
- Fire hydrants – Just like stag lifts, this is on all fours with a 90° bend. Now, lift the knee out to the side instead of behind you.
- Glute bridges – Lie on your back with feet flat on the floor. Keeping the knees in line with the toes, elevate your hips, keeping your core engaged, then lower to the starting position.
- Clamshells – Lie on your side, supported by your elbow. Keeping your feet together, open your top knee while squeezing your glutes.
Are the feet turning out?
Here’s where we put it all together. If the hips turn in, the knees turn in. If the knees turn in, the ankles end up at a strange angle, often contributing to unsupported ankles.
The good news is, after we fix the hip and knee issues, we can narrow down the problem to mobility issues.
If the feet turn out when the gymnast squats, runs, jumps, or lands, the gymnast is usually lacking ankle flexion. This is generally due to tight calves.
Lack of flexion can create pain during short landings, less-than-optimal landing and takeoff positions, and even lead to Achilles tears. So, yeah. Let’s fix that asap!
The fix: increase ankle flexion.
There are a ton of ways to do this, but I’ll start you off with my top 5 stretches:
- Foam rolling calves – Set the calves on top of a foam roller and apply pressure while rolling slowly back and forth. When you find a sore spot, hold for 30 seconds.
- Eccentric calf raises – Hang the heels off the edge of the floor or beam. Go up on toe, then slowly lower the heels for 4 counts. Hold for 2 counts at the bottom stretched position, then rise back up for 1 count. Emphasis on the stretch!
- Banded ankle distraction – Attach a loop band to a fixed point and wrap the other end around the front of the ankle, pulling backwards. Keeping the heel on the ground, lean your knee forward as much as you can, creating ankle flexion.
- Knee to wall stretch – Kneel down facing a wall with the front foot about 6 inches from the wall. Keeping the heel on the ground, lean your knee forward as much as possible, aiming to touch it to the wall. Hold for 30 seconds and repeat.
- Deficit gastroc & soleus stretches – Hang the heels off the edge of the floor or beam and let them sink as low as possible. Hold for 30 seconds to stretch the gastrocs. Next, bend the knee and let the heels sink to stretch the soleus muscles.
2.) Use the big toe to avoid common ankle injuries in gymnastics.
I like to say the “b” in “big toe” stands for “balance.” If it’s squashed, inactive, or rolling up off the floor, the stability of our ankles is compromised. Here are a few ways we can make sure our big toes are doing their big jobs.
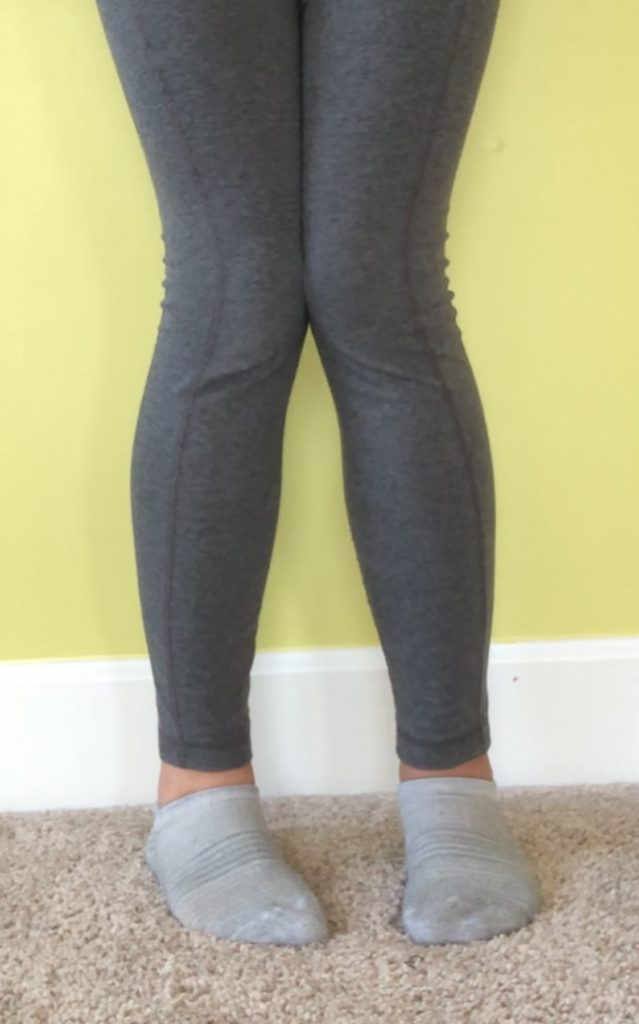
Look out for squashed big toes.
Take a quick look at the big toe. Is there space between it and the second toe? Or are they squashed into each other? Lack of toe separation creates poor ankle stability.
Think about doing a handstand with all your fingers and thumb squooshed together. No thanks, right? No stability! However, that’s essentially how you’re walking around when your big toe is squashed against the rest of them.
How does this happen? Most modern shoes are to blame. Narrow toe boxes limit our toes’ breathing room and keep them from stretching out like they’re designed to (Nikes are notoriously narrow).
The fix: different shoes and toe spreaders.
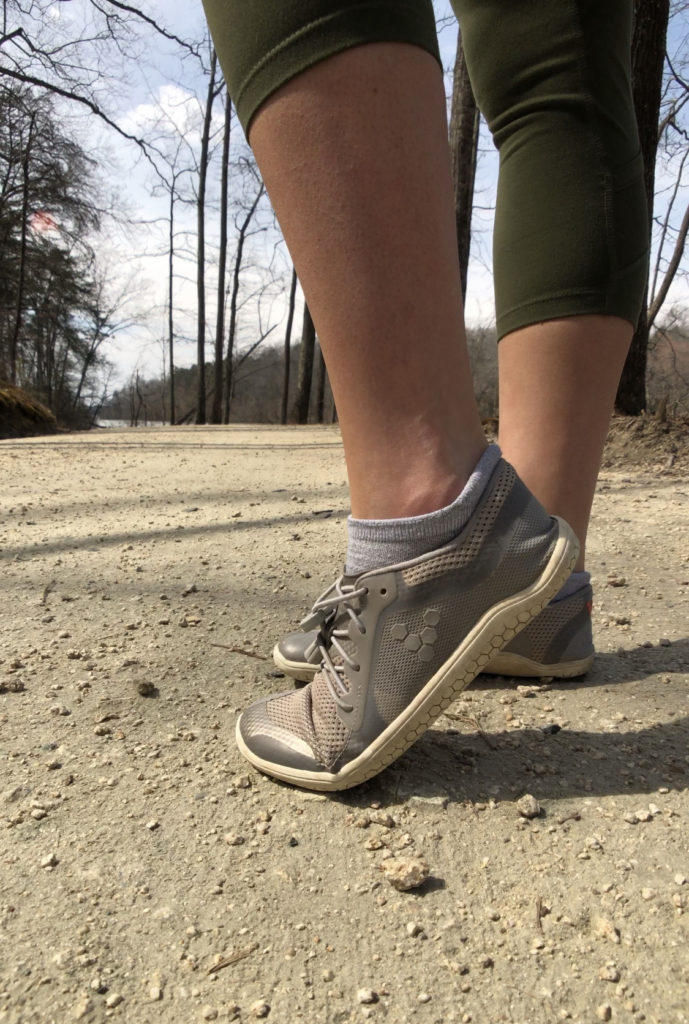
When I say “wider” shoes, I don’t mean the wide version of a regular shoe.
I’m referring to a wider toe box, or the top of the shoe. My favorite brand is Vivobarefoot, but there are quite a few “foot-shaped” shoes on the market. After a few weeks of wearing them, the toes will slowly separate back to normal!
To speed up the process, I also recommend wearing toe-spreaders for about an hour or so per day. Train those toes to stretch just like your splits!
Are the feet flattening?
Are the gymnast’s feet caving inward during squats and landings? There’s a misconception that some people just “have” flat feet and there’s nothing to be done about them. The good news is, flat feet are completely fixable.
I’ll prove it to you. Got no arches to speak of? A romantic relationship with your cushioned insoles? Try this experiment.
The fix: activate the big toe.
Even your weight between your big toe, heel, and outside of your foot. Push your big toe into the ground. Now, (without curling your toes) try to slide your big toe toward the back of your foot. Pop! Look at that! An arch! Next step is to make it permanent.
Perform every movement with a tripod foot.
That technique to activate the big toe is called “tripod foot” because it gives your foot 3 major points of stability. Much like widespread fingers pushing into the floor for a handstand, a wider, more active base will give you more stability (on the rare occasion your gymnast is right-side up).
Besides practicing the tripod foot in all your upright lifting, walking, and jumping, there’s a specific exercise we can do to isolate and strengthen the arch.
The fix: build strong arches.
Start by keeping equal weight on the big toe, heel, and outside of the foot (yep, tripod foot). Next, keeping the big toe and balls of your feet planted, slide your big toe back toward your heel to scrunch up your arch. Make sure you aren’t curling your toes!
If you’re throwing a lot of brainpower down there and not seeing much happen, that’s okay! It’s a tiny movement, and if your arches are already weak, it will take some time to wake them up. Just keep practicing.
3.) Strengthen the tibialis anterior to reduce ankle injuries in gymnastics.
The last step to prevent ankle injuries in ankles is strengthening. But there’s a lot of misinformation about what exactly makes strong ankles, and we’re usually missing the actual problem.
Make sure your prehab isn’t making the issue worse.
There’s a place and a time for working that toe point, but it’s NOT when we’re getting consistent ankle injuries.
If your go-to ankle prehab involves pulling a band over the balls of the feet and pointing the toes, I ask you to reconsider your plan.
This type of strengthening exercise targets the calves, which we’ve already determined are usually strong and tight. We don’t want to exacerbate the issue! What you actually want to do is reverse the movement to strengthen the anterior tibialis.
The fix: avoid toe point strengthening.
Attach a loop band to a fixed object. Next, loop the other end around the middle of the foot. Flex the ankle backwards for a count of 4, hold for 2 counts, and release tension for 1 count. Repeat!
Balance out the issue by strengthening the other side of the ankle.
The anterior tibialis is often overpowered by a gymnast’s rock-solid calf muscles (the gastrocs and soleus). We started to counteract that by strengthening the muscle that supports our ankles in the front. The anterior tibialis!
The fix: strengthen the anterior tibialis.
There are a couple ways we can do this:
- Band-resisted flexion – Attach a loop band to a fixed object. Next, loop the other end around the middle of the foot. Flex the ankle backwards for a count of 4, hold for 2 counts, and release tension for 1 count. Repeat!
- Toe lifts – Lean your back against a wall with your legs slightly in front of you. Keeping your knees straight, flex your feet straight back toward your ankles for a count of 4, hold for 2 counts, and release tension for 1 count. Repeat!
The breakdown about ankle injuries in gymnastics:
So there you have it! The exact way I prevent ankle injuries in gymnastics through my programming. If you’re interested in applying this to your own programming, send me a quick note about your program. I’d love to help your gym or gymnast implement this training and set them on a firm foundation.